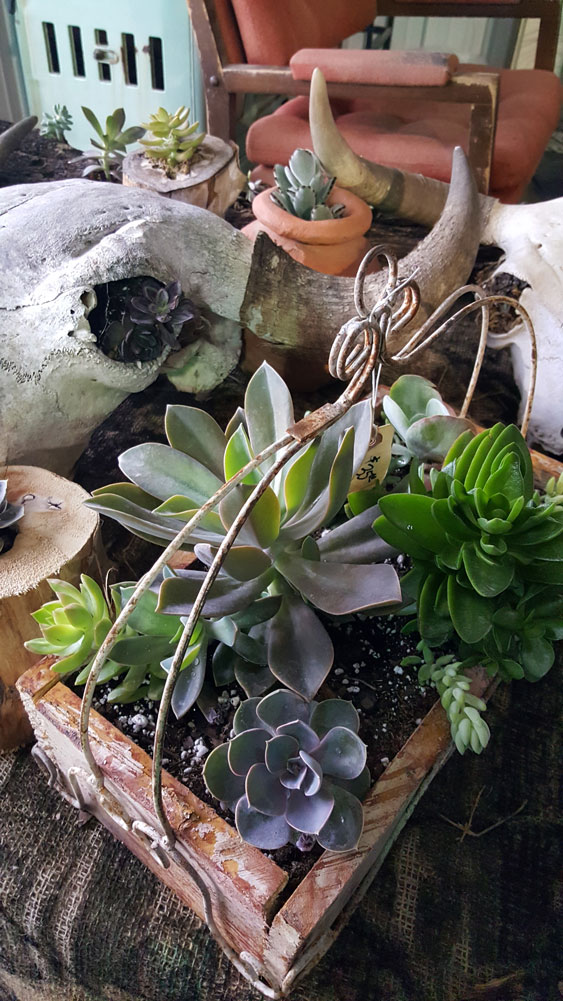
De-bugging Outdoor Potted Plants Before Bringing Those Plants Indoors

Posted on November 1, 2022 by Van Becelaere Greenhouse
Fall is the perfect time to work in the garden in Pittsburg, Kansas. With winter months closing in, you’ve probably begun thinking about which outdoor potted plants to transition indoors. But we’ve already had our first freeze this season, which means you’ve likely already moved those plants indoors.
So what can you do to treat any bugs you inadvertently moved indoors to protect those potted beauties from wintering outdoors? You de-bug those roots!
Avoid Moving Plants Indoors Last Minute
It’s difficult to imagine but to avoid moving bugs indoors with your plants, you should set aside time over a couple of weekends to transition plants indoors by de-bugging those outdoor plants first. But if you procrastinate like many of us, there is still time to give those plants a bug treatment.
Steps to De-bugging Plants
Whether you are preparing to move those plants indoors or you’ve already done so, you’ll need to gather the items listed below to successfully de-bug those outdoor plants for transition to indoor houseplants:
- Three large utility buckets
- 4 gallons of water
- Spray bottle
- Utility scrub brush
- Old work towels
- Thick mil rubber gloves
- Mild liquid soap without perfumes
- 3% hydrogen peroxide
4 Steps to De-bug Plants for Indoor Living
Now that you’ve gathered all the supplies, let’s start with these simple, easy-to-follow steps. Be sure to work in a space inside your home without carpeting, like the bathroom or kitchen.
Step 1 – Prep Utility Buckets for Plant Bath and Rinse
Fill one utility bucket with two gallons of water, and mix in the following:
- 1 cup of 3% hydrogen peroxide
- Two tablespoons of a mild liquid soap
CAUTION: Hydrogen peroxide is a skin irritant, so wear your heavy-duty rubber gloves when working with this chemical. Always secure the cap to the hydrogen peroxide to avoid accidental spills. Also, keep this and other chemicals out of reach of children and animals.
- Pour in additional water to cover the top of the pot [NOTE: It’s okay if some of the plant leaves make contact with the water mixture, but do not submerse the entire plant and leaves in the water mixture.]
- Add two tablespoons of liquid soap
- Allow the plant to soak for 15 minutes
Step 2 – Spray Unsubmerged Plant Foliage
Any leaves that do not get submerged in the water bath should get sprayed using the spray bottle filled with the same solution you made for the plant bath. The goal is to ensure good coverage by utilizing the spray bottle to get rid of bugs or hidden fungi in those soon-to-be house plants.
Step 3 – Remove the Potted Plant From Its Bath
Next, scrub the outside of the pot using your utility scrub brush and rinse with clean water to remove any unsightly soap residue from being left behind. Then dry off using old work towels to dry the outside of the planters.
Step 4 – Find a Bright Sunny Spot Indoors
After winterizing your plants for indoor living, you need to find a bright sunny place indoors for them to thrive and survive through the winter months.
Looking For More Seasonal Gardening Ideas
Now that you’ve finished, you might wonder, what more can you do in the garden from Pittsburg, KS, this upcoming winter? Stop in and talk to the team at the Van Becelaere Greenhouse. They have year-round gardening ideas to help you build the garden you’ve always wanted.
Call Van Becelaere Greenhouse today at 620-231-1127 to learn what’s new in-store!
